
In this guide we’ll teach you how to install a new texture pack for Minecraft on PC. We’ll also throw in the difference between ‘Texture Pack’ and ‘Resource Pack’ as an added bonus! A texture pack modifies only the image of the game however resource packs also change other elements such as audio. We’ll use the term texture pack throughout this guide. The benefit of adding a texture pack is that it can give the game a completely different look and feel. Perhaps it will spice things up a bit from the usual vanilla Minecraft!
Step 1: Selecting And Downloading A Texture Pack
If you already have the desired texture pack downloaded you can skip to step 2.
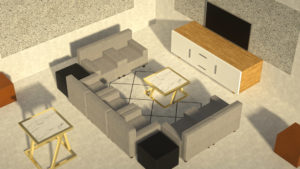
Texture packs vary in styles and themes so you’ll need to decide what you’re looking for. Perhaps you’ll want something that gives blocks more 3D elements but keep a similar look to vanilla, just enough change to be noticeable. Maybe you want a more old school RPG style, or maybe you’re looking for a more realistic feel to the game.

There are a few ways you can find a good texture pack. Through YouTube texture pack reviews, websites where you can browse various packs like www.curseforge.com or directly from the creator of the pack such as realismmats.com. Once you’ve found the right one go ahead and download it.The pack will most likely be downloaded as a .zip file.
Make sure the pack you are downloading is for the correct version of Minecraft!
Step 2: Adding The .Zip To The Correct Folder
Once you’ve got the right pack downloaded you’ll need to put the .zip file into the correct Minecraft folder. The easiest way to find the correct folder is through the Minecraft options.
From the main menu of the game go to ‘Options’. The bottom left choice should be ‘Resource Packs’.

Then, again in the bottom left, you’ll have ‘Open Resource Pack Folder’. Clicking this will open the proper folder. This is where you want to move or copy the .zip file over to. Minecaft should reload on its own to add the texture pack but if it doesn’t you’ll need to restart.

Step 3: Activating The Texture Pack
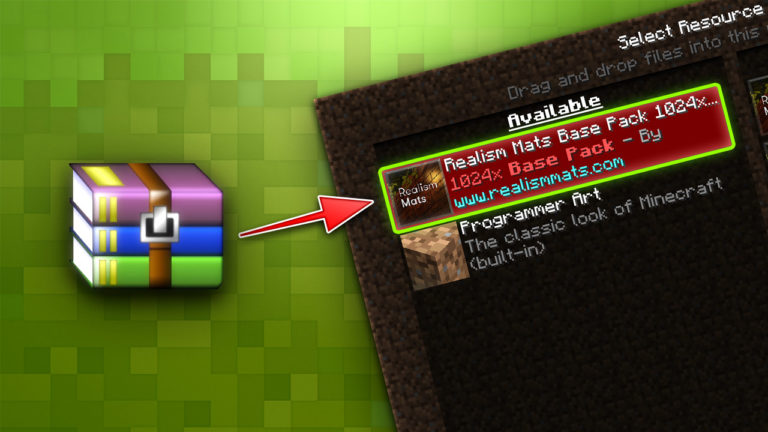
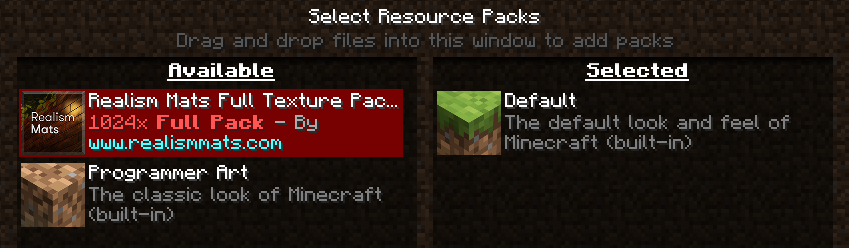
To activate the texture pack you will need to return to ‘Options’ -> ‘Resource Packs…’. When you were here previously it should have only had ‘Programmer Art’ under available, as this is a built-in texture pack, and ‘Default’ as the selected pack. Now you should see your new texture pack under the ‘Available’ column. If it shows up as red, like the picture below, it means the pack is for a different version of Minecraft and you’ll need to go back and download a pack for the correct version. Many packs have downloads available for multiple versions of Minecraft.
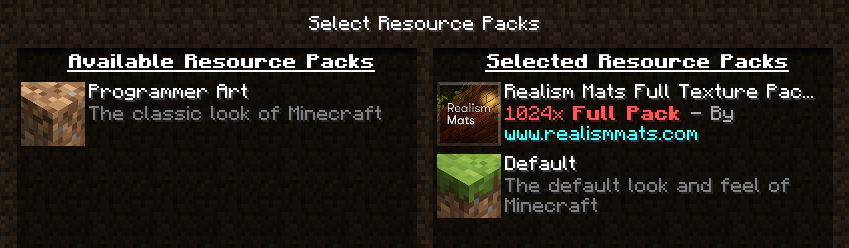
Assuming the texture pack is for the correct version of Minecraft all you need to do is click the texture pack that you have added over from ‘Available’ to ‘Selected’ and make sure that it is in the highest position in the column. The ‘Default’ pack won’t move to the left side so just make sure it is lower in the column than the new pack, like below.
Now all you need to do is login to your world and voilá! Texture packs are great and can really invigorate your Minecraft experience so test a few out and see which suits you best.
A Side Note: Other Ways To Improve Look And Performance
There are a few other ways you can enhance Minecraft to make it look and run even better.
Optifine is an optimization mod that improves the performance of minecraft as well as making certain visuals much nicer. A good example is that it combines glass panes into a single pane instead of many individuals. Here is a video and an article that can help you install Optifine.
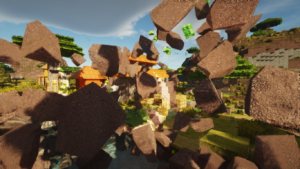
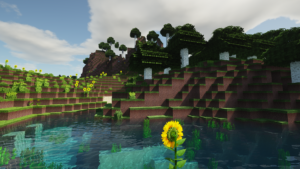
Shader packs can change elements like lighting, particles, the sky etc. There are some very nice shader packs out there which make the game far more visually pleasing and add options like dynamic lighting. There are many different options out there but here is a video and an article that can help you install a shaderpack.