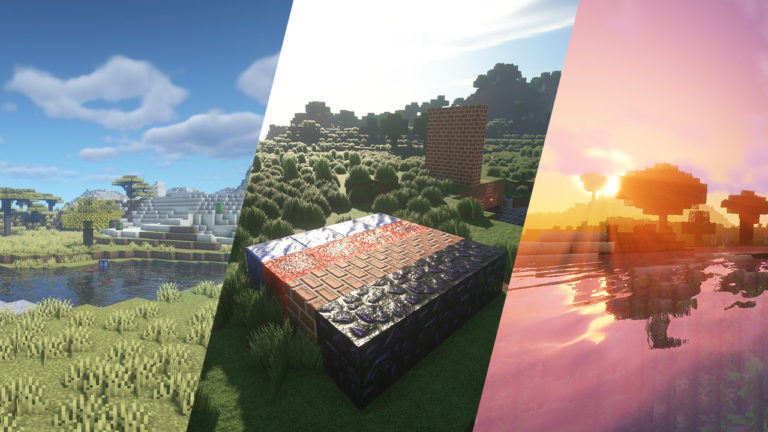
Minecraft shaders are a simple way to modify the way Minecraft renders its lighting and shadows to create the desired effect. They enhance the look and feel of the game without changing any of the physical features.
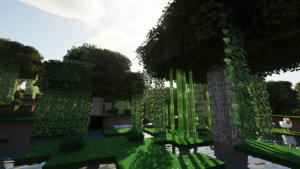
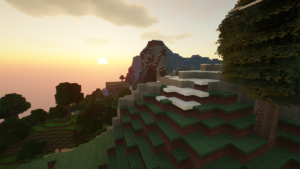
All three of these shaders are fantastic and you’ll want to make up your own mind on which is most suited to your taste. So we’ll include some pretty pictures for you! There’s a few settings you’ll want to change from their default to get the best experience. We’ll talk about those for each individual shader pack.
Installing shader packs can be a little confusing so here is a video that will teach you how.
Many shader packs also require Optifine to work. Learn what Optifine is and how to download it here.
1. BSL Shaders
BSL shaders add so much in terms of little changes to the graphics and elements.It can be very easy to find yourself wandering into the wilderness, or into a cave, with the sole purpose of simply looking. Seeing everything around you with new eyes. With a greater appreciation of the little details. That which was perhaps getting a little stale and repetitive is now invigorated with new life. A little dramatic perhaps but it’s true!
There are a couple of settings you might want to change and we go through them in the video here in case you get lost. The default settings on the BSL shaders turn the brightness up just a little high. You can change this in your setting to make it a bit easier on your eyes.
To access the shaders settings go to ‘Options’, ‘Video Settings’, ‘Shaders’ and ‘Shader Options’. Here you can play around with the many different settings to suit your preference. I would advise reducing the intensity of light to reduce the brightness. Go to ‘Color’ then ‘Lighting Color’. Once here, go into each of the eight options in front of you and reduce the intensity by about 75%.
BSL shaders are made by BITSLABLAB and can be downloaded here.
2. SEUS Renewed
Sonic Ether’s Unbelievable Shaders (or SEUS) are just that. Unbelievable. Or, do they make Minecraft more believable? Either way, there is something about these shaders that make screenshots and gameplay feel like something out of a documentary. I can’t quite put my finger on it… but it makes for a very enjoyable Minecraft experience.
The changes in the water when using this pack are particularly mesmerising. Like the shallows off the coast of the Maldives. Clear, blue and makes you want to swim around in it.
SEUS Renewed is made by Sonic Ether and can be downloaded here.
3. Sildur’s Vibrant Shaders
For some reason Sildur’s shaders don’t seem to change the feel of the game as much as the other two in the list. Not to say they are worse by any means because they’re just as great. These shaders feel like vanilla++ and would be perfect for those that don’t want a drastic difference but would enjoy more subtle enhancements to the cosmetics of their world.
The shadows can be a little odd with the default settings and appear to flicker frequently. In the video here you can see the flickering and how to fix it through your shader options. Like before with the BSL shaders, go to ‘Options’, ‘Video Settings’, ‘Shaders’ and ‘Shader Options’. Now go to ‘Shadows’ and change the ‘Shadows Resolution’ to ‘High’ or higher. You should also turn on ‘Variable Penumbra Shadows’.
As well as being gorgeous, Sildur’s shaders have an added benefit. There are several different downloads you can choose from, ranging from ‘Lite’ to ‘Extreme-Volumetric lighting’ depending on how good of a system the user has.
Sildur’s shaders can be found here.
Texture Packs And Shaders
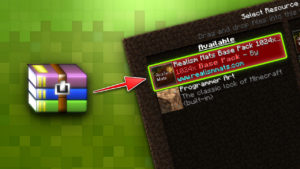
Some texture packs have shader compatibility options you can enable and work particularly well with specific shaders. When combined, these two factors can add a lot of value when it comes to creating a stunning world to play Minecraft in. For example, Realism Mats is a texture pack made with SEUS in mind. Realism Mats is a great pack regardless but when used alongside SEUS the blocks come alive. There is an article here where you can learn how to install texture packs for Minecraft.


